

Review sản phẩm
Tăng Tốc & Bảo Mật Internet: Hướng Dẫn Thay Đổi DNS sang Google hoặc Cloudflare
Th6
## Tăng Tốc & Bảo Mật Internet: Hướng Dẫn Thay Đổi DNS sang Google hoặc Cloudflare
Ngày nay, việc truy cập internet nhanh chóng và an toàn là điều vô cùng quan trọng. DNS (Domain Name System) – hệ thống tên miền, đóng vai trò then chốt trong quá trình này. Thay đổi DNS sang các nhà cung cấp uy tín như Google hoặc Cloudflare có thể giúp cải thiện đáng kể tốc độ load trang web và tăng cường bảo mật cho thiết bị của bạn. Bài viết này sẽ hướng dẫn bạn từng bước thực hiện, bất kể bạn sử dụng hệ điều hành nào.
Tại sao nên thay đổi DNS?
DNS mặc định do nhà cung cấp internet (ISP) cung cấp đôi khi không hiệu quả, dẫn đến tốc độ truy cập chậm, gián đoạn kết nối và thậm chí tiềm ẩn rủi ro bảo mật. Chuyển sang Google Public DNS hoặc Cloudflare DNS mang lại nhiều lợi ích:
* Tốc độ truy cập nhanh hơn: Các máy chủ DNS của Google và Cloudflare được phân bổ toàn cầu, tối ưu hóa cho tốc độ và độ ổn định.
* Bảo mật được tăng cường: Cả hai nhà cung cấp đều tích hợp các tính năng bảo mật, giúp chặn các website độc hại và bảo vệ bạn khỏi các mối đe dọa trực tuyến.
* Độ tin cậy cao: Với hệ thống máy chủ dự phòng toàn cầu, khả năng gián đoạn dịch vụ rất thấp.
* Chặn quảng cáo (trong một số trường hợp): Một số dịch vụ DNS có tính năng chặn quảng cáo tích hợp. Tuy nhiên, tính năng này có thể không khả dụng với tất cả các nhà cung cấp.
Hướng dẫn thay đổi DNS trên các hệ điều hành phổ biến:
1. Windows:
* Mở Control Panel.
* Truy cập Network and Sharing Center.
* Chọn kết nối mạng của bạn (ví dụ: Wi-Fi hoặc Ethernet).
* Nhấp vào Properties.
* Chọn Internet Protocol Version 4 (TCP/IPv4) hoặc Internet Protocol Version 6 (TCP/IPv6) (hoặc cả hai) và nhấp vào Properties.
* Chọn Use the following DNS server addresses:
* Google Public DNS:
* 8.8.8.8
* 8.8.4.4
* Cloudflare DNS:
* 1.1.1.1
* 1.0.0.1
* Nhấp vào OK để lưu thay đổi. Khởi động lại máy tính để đảm bảo các thiết lập được áp dụng đầy đủ.
2. macOS:
* Mở System Preferences.
* Truy cập Network.
* Chọn kết nối mạng của bạn (ví dụ: Wi-Fi hoặc Ethernet).
* Nhấp vào Advanced….
* Chọn tab DNS.
* Thêm các địa chỉ DNS mong muốn (Google hoặc Cloudflare như đã nêu ở trên).
* Nhấp vào OK để lưu thay đổi.
3. Android & iOS:
Quá trình thay đổi DNS trên điện thoại thông minh Android và iOS thường phức tạp hơn và phụ thuộc vào nhà sản xuất và phiên bản hệ điều hành. Bạn có thể cần tham khảo hướng dẫn cụ thể cho thiết bị của mình hoặc sử dụng ứng dụng quản lý DNS của bên thứ ba.
4. Router:
Thay đổi DNS ở cấp độ router sẽ ảnh hưởng đến tất cả các thiết bị kết nối với mạng gia đình của bạn. Quá trình này cần truy cập vào giao diện quản trị của router (thường thông qua trình duyệt web) và có thể khác nhau tùy thuộc vào nhà sản xuất. Hãy tham khảo hướng dẫn sử dụng của router để biết thêm chi tiết.
Kết luận:
Thay đổi DNS sang Google hoặc Cloudflare là một bước đơn giản nhưng hiệu quả để cải thiện trải nghiệm internet của bạn. Hãy thử và cảm nhận sự khác biệt!
#DNS #GoogleDNS #CloudflareDNS #InternetSpeed #InternetSecurity #HướngDẫn #CôngNghệ #Mạng #BảoMật #TăngTốcInternet
Giới thiệu How to change your DNS to Google or Cloudflare
: How to change your DNS to Google or Cloudflare
Hãy viết lại bài viết dài kèm hashtag về việc đánh giá sản phẩm và mua ngay tại Queen Mobile bằng tiếng VIệt: How to change your DNS to Google or Cloudflare
Mua ngay sản phẩm tại Việt Nam:
QUEEN MOBILE chuyên cung cấp điện thoại Iphone, máy tính bảng Ipad, đồng hồ Smartwatch và các phụ kiện APPLE và các giải pháp điện tử và nhà thông minh. Queen Mobile rất hân hạnh được phục vụ quý khách….
_____________________________________________________
Mua #Điện_thoại #iphone #ipad #macbook #samsung #xiaomi #poco #oppo #snapdragon giá tốt, hãy ghé [𝑸𝑼𝑬𝑬𝑵 𝑴𝑶𝑩𝑰𝑳𝑬]
✿ 149 Hòa Bình, phường Hiệp Tân, quận Tân Phú, TP HCM
✿ 402B, Hai Bà Trưng, P Tân Định, Q 1, HCM
✿ 287 đường 3/2 P 10, Q 10, HCM
Hotline (miễn phí) 19003190
Thu cũ đổi mới
Rẻ hơn hoàn tiền
Góp 0%
Thời gian làm việc: 9h – 21h.
KẾT LUẬN
Hãy viết đoạn tóm tắt về nội dung bằng tiếng việt kích thích người mua: How to change your DNS to Google or Cloudflare
Browsing the internet on your Android phone is only as good as your internet speed. Even if it’s one of our favorite foldable phones, the page load times don’t see a dramatic reduction. And there’s always the probability of security warnings or DNS errors ruining your browsing experience. So, how do you improve the browsing experience on your phone? By using a private DNS like Google DNS or Cloudflare.
Why use Google or Cloudflare DNS on your phone?
DNS stands for Domain Name System. It translates a website’s domain name into its internet protocol (IP) address for easy navigation. To further clarify, Google Search’s domain name is Google.com. But, one of the many IP addresses the search engine uses is 142.250.189.206, which is difficult to remember. This is where DNS comes in. You can enter Google Search’s domain name and let DNS do the hard work of translating that into the IP address used by the site.
A DNS network is powered by several DNS servers that handle your browsing requests seamlessly in the background. While this action happens behind the scenes, knowing the DNS servers you are using is important. By default, your ISP has its own DNS servers, but it might not always be the best option.
Google and Cloudflare, the world’s largest content delivery network providers, offer their own DNS servers. So why should you use them instead of your ISP’s DNS? That’s because they provide faster DNS lookups, leading to faster page load time and speeding up internet browsing.
Besides the speed and performance, these DNS services offer additional security, like DNS-over-HTTPS and DNSSEC. And they don’t keep a log of user activity, which could pose a security risk. And since your browsing activity is encrypted, your ISP or a hacker cannot determine the websites you visit.
A private DNS is also necessary if you frequently connect your phone to public Wi-Fi networks and access sensitive websites.
Apart from speeding up the browsing experience, Google or Cloudflare DNS can reduce the time it takes for apps to load content on your phone. Cloudflare also offers a DNS resolver for families that blocks malware, phishing websites, and adult content and protects against other security risks.
How to change the DNS on a Google Pixel phone to Google DNS or Cloudflare
When you change the DNS provider on your phone, it affects mobile data and Wi-Fi. Your phone will use the private DNS server entered by you instead of the one provided by your ISP or network provider.
- Open the Settings menu.
- Tap Network & internet.
- Select Private DNS.
- Select the Private DNS provider hostname option.
- To use Cloudflare DNS, enter 1dot1dot1dot1.cloudflare-dns.com and tap Save. Alternatively, enter one.one.one.one.
- For Google DNS, enter dns.google and then tap Save.
A “Couldn’t connect” error appears on the screen if you enter an incorrect DNS server.
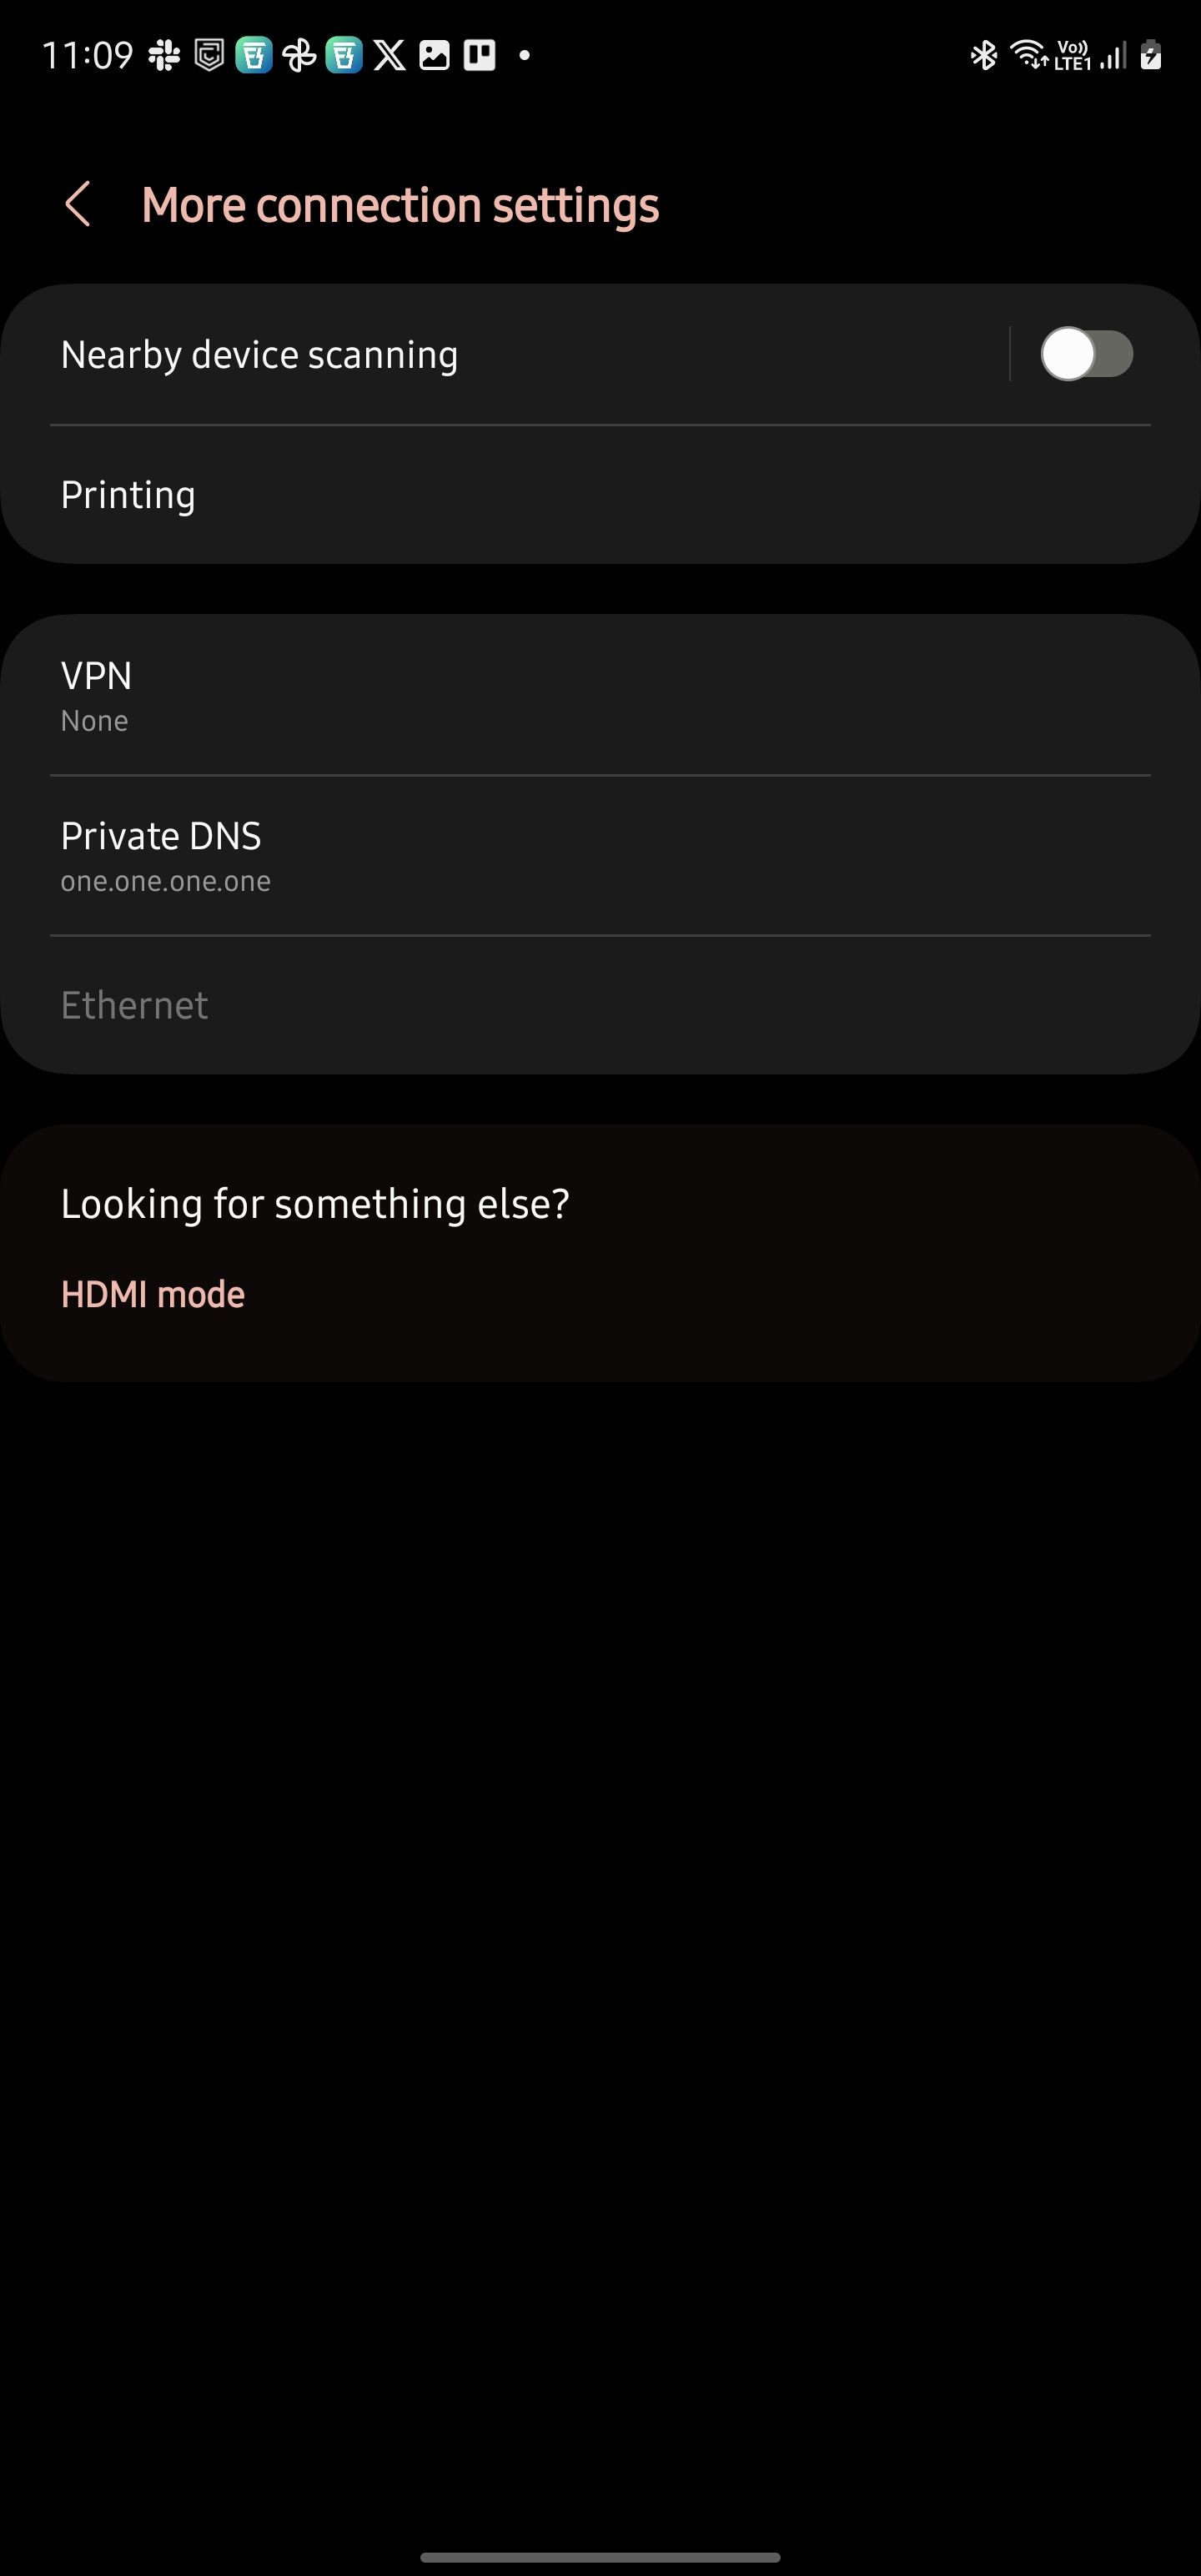
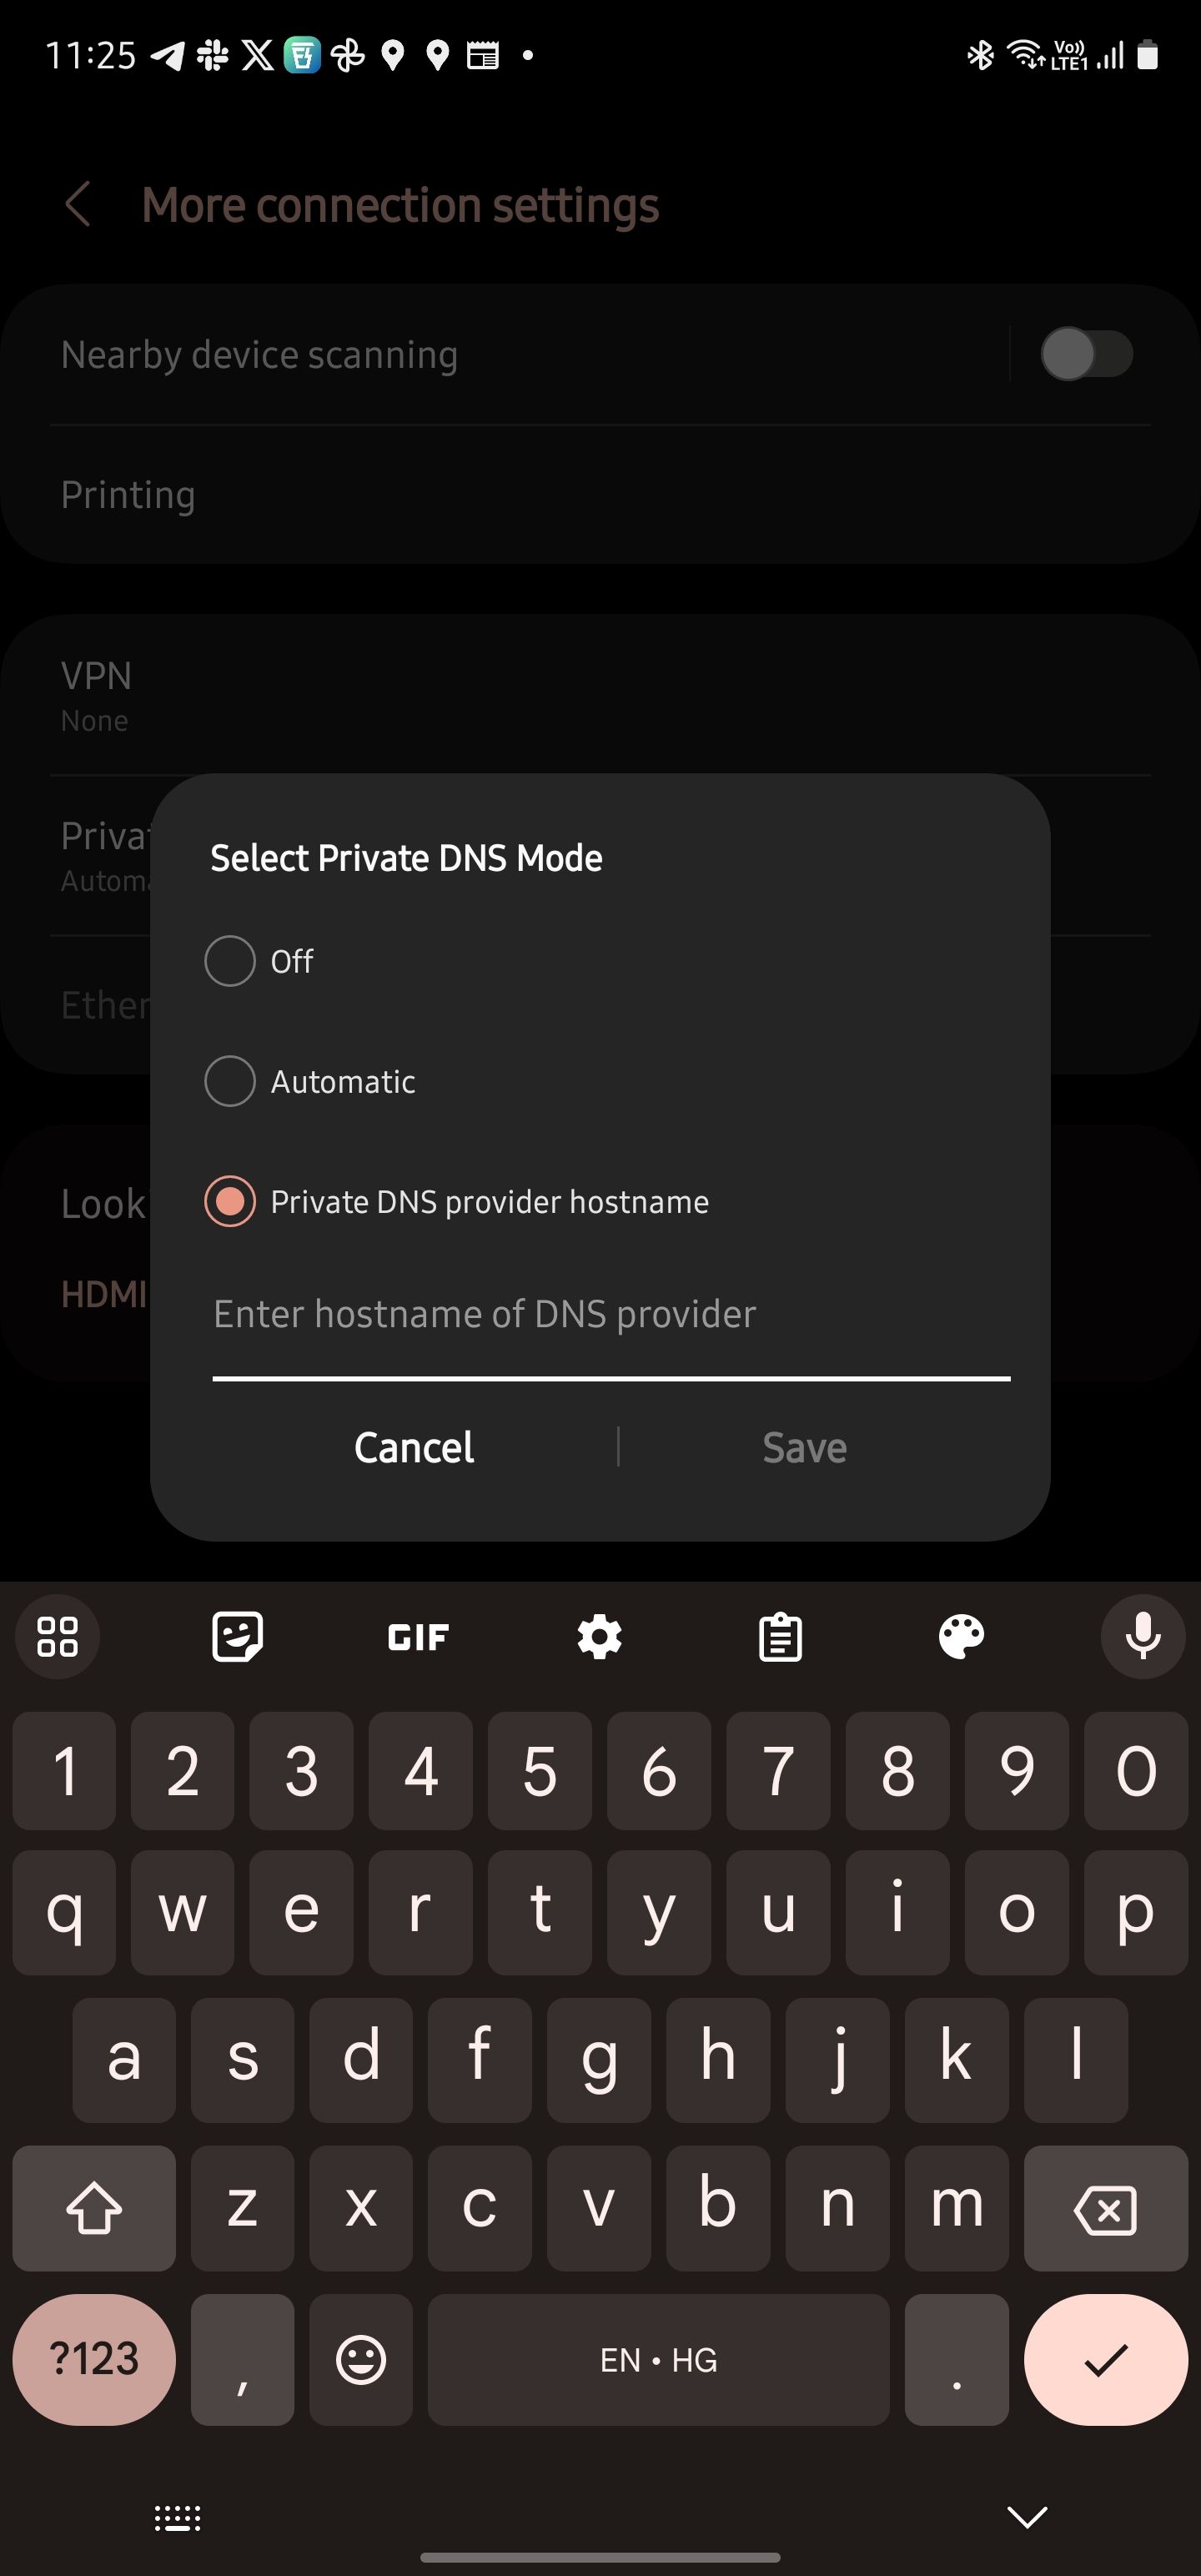
How to change your Samsung phone’s DNS to Google DNS or Cloudflare
Similar to Pixel phones, changing the DNS on Samsung phones is easy.
- Navigate to the Settings menu on your Galaxy phone.
- Tap Connections.
- Scroll down and select More connection settings.
- Tap Private DNS.
- Tap Private DNS provider hostname.
- Enter 1dot1dot1dot1.cloudflare-dns.com or one.one.one.one for Cloudflare DNS.
- Type dns.google to use Google DNS.
- Tap Save to save the new DNS settings.

The steps to use a private DNS on the best budget Android phones from other companies are mostly the same. The feature is available on all devices running Android 9.0 Pie or higher.
How to confirm your phone is using Cloudflare or Google DNS
To confirm your phone uses Cloudflare DNS, head to the 1.1.1.1 help website. It shows the connection information with all the necessary debug information. If the “Connected to 1.1.1.1” and “Using DNS over TLS (DoT)” are shown as “Yes,” it means your phone is using the Cloudflare DNS.
Google does not offer a similar website, but you can use the 1.1.1.1 helper website to determine the DNS that’s being used. If the AS Name shows up as Google, it means your phone is using Google DNS.
Use Cloudflare or Google DNS for a safer browsing experience
A private DNS is a must to browse the internet securely on your phone. You can never be secure enough on the internet, and you should always take precautions to keep yourself safe from scammers and malware. Another plus point is that a private DNS reduces page loading times. And you get all this for free, so there’s little reason not to use a private DNS on your phone.
After switching to Cloudflare or Google DNS on your phone, check out the top reasons to use a password manager, followed by the best password manager apps.
Xem chi tiết và đăng kýXem chi tiết và đăng ký

Khám phá thêm từ Phụ Kiện Đỉnh
Đăng ký để nhận các bài đăng mới nhất được gửi đến email của bạn.

